Sterile ultrasound probe covers with cohesive sound conductive surface
Saves time and consumables through an unrestricted ultrasound image
Description
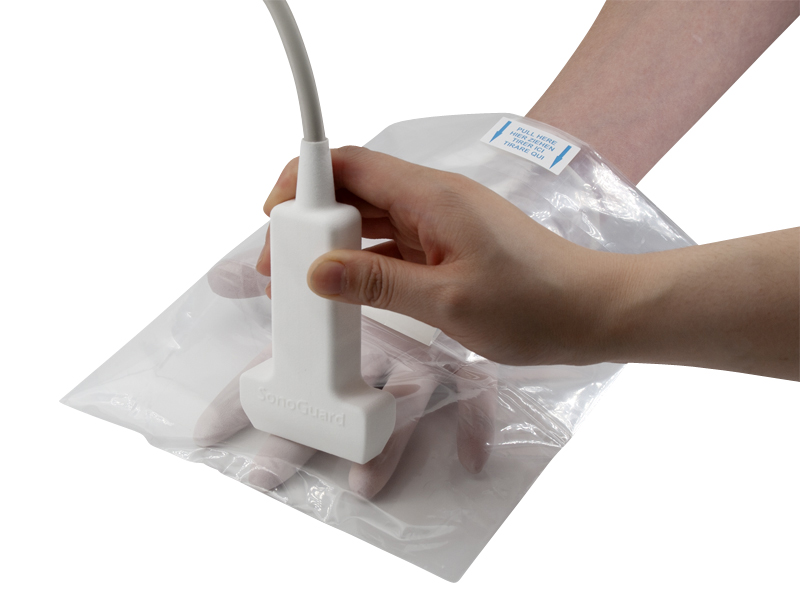
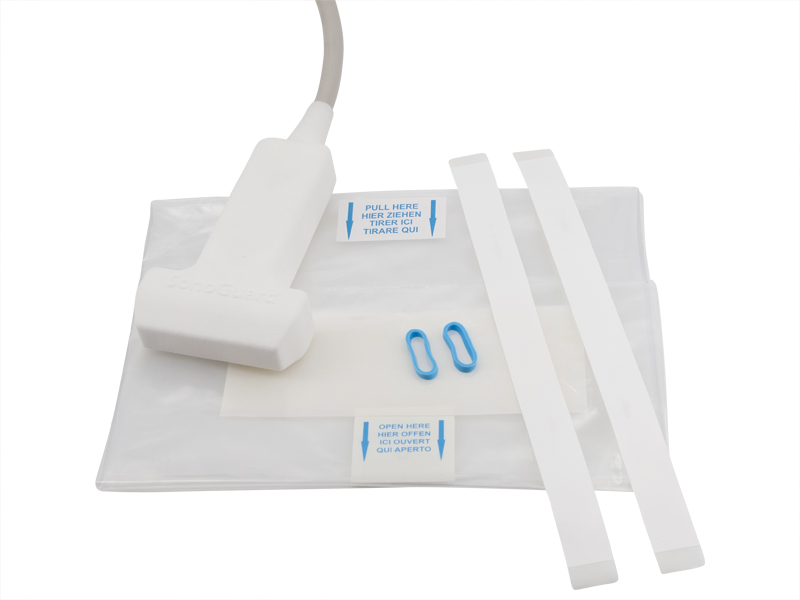
Sterile ultrasound probe covers with cohesive ClearView film for fixing the ultrasound transducer head to the inside of the cover. The application of contact gel inside the sterile cover is unnecessary. Due to the non-slip positioning of the cover on the probe, an additional securing by rubber bands or adhesive strips is optional. After the application, the compound of the cover and the cohesive film is removed without leaving any residues from the probe. There is no need to clean the probe and cable of excess contact gel.
Conclusion: Saving of time and consumables by unrestricted visibility
Specification
- Ultrasound probe cover made of LDPE-film | latex- and phthalate-free
- Ultrasound-conductive adhesive film for positioning the probe, residue-free removal
- Telescopic folding
- Resistant against common disinfectants
- Incl. adhesive tapes and rubber bands
- Available length: 40 cm | 80 cm | 120 cm | 160 cm
- Width: 18 cm
- Sales unit: 200 pieces | sterile
Video Guide
The following Video-Tutorial does not replace the official Instruction for Use for this product. Please read the Instruction for Use carefully before using SonoGuard Plus Probe Covers in a clinical environment.
Downloads
Product Catalogue Equipment Covers
Instructions for Use SonoGuard Plus
Application
The following Application Guide does not replace the Instruction for Use for this product. Please read the Instruction for Use carefully before using SonoGuard Probe Cover.
1. Step:
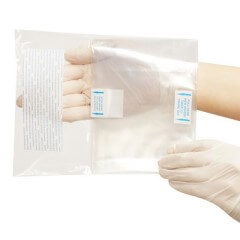
The sterile person introduces the first hand into the most inner pocket of the folded cover and spreads their fingers to prevent the formation of wrinkles on the adhesive surface.
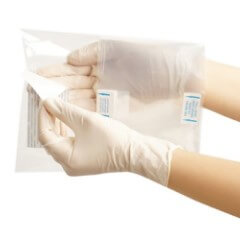
2. Step:
The sterile person removes the protective liner from the adhesive surface with the second hand.
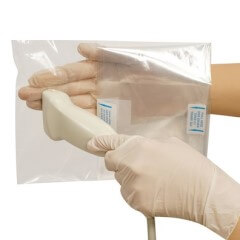
3. Step:
The non-sterile person places the transducer on the adhesive surface. Make sure that no wrinkles are forming. The sterile person pushes the adhesive surface onto the entire transducer from inside the cover.
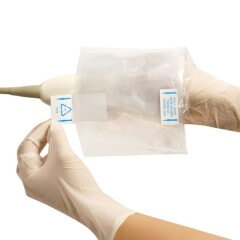
4. Step:
The non-sterile person holds on to the label while the sterile person firmly holds the transducer and pulls the cover over the transducer and cable.
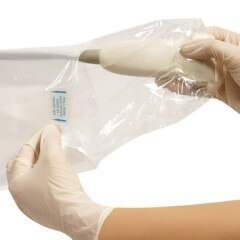
5. Step:
In the case of longer covers, the non-sterile person has to pull a second label to fully extend the drape over the cable.
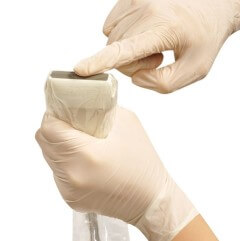
6. Step:
To remove potential trapped air bubbles, sterile person firmly swipes over the adhesive film.
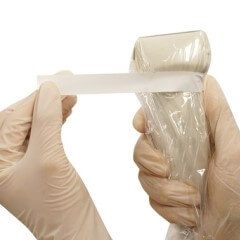
7. Step:
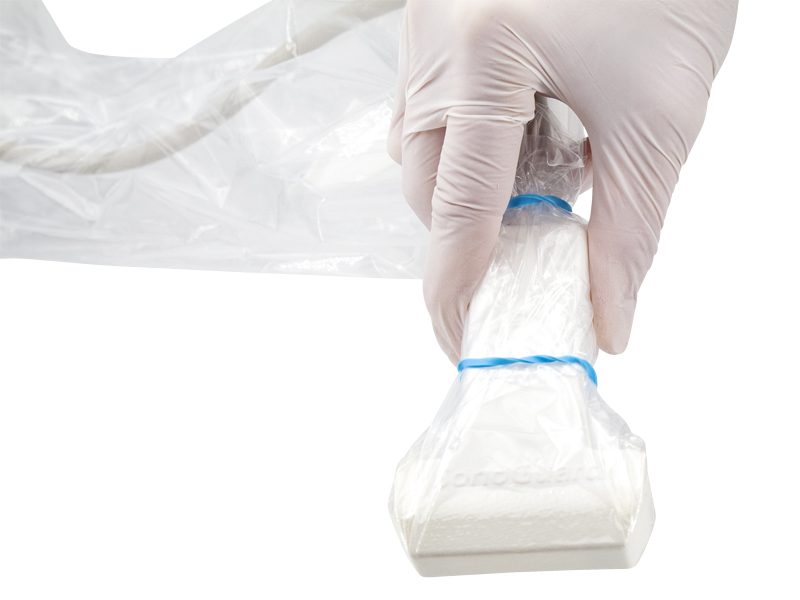
Attach the cover to the transducer with the adhesive strips or rubber bands provided.
8. Step (Optional):
If there is an additional adhesive strip or rubber band provided, the loose-fit cover may be tightened behind the transducer to the cable to improve handling during use.

